SteelSeries Prime — QMK Mouse Liberation
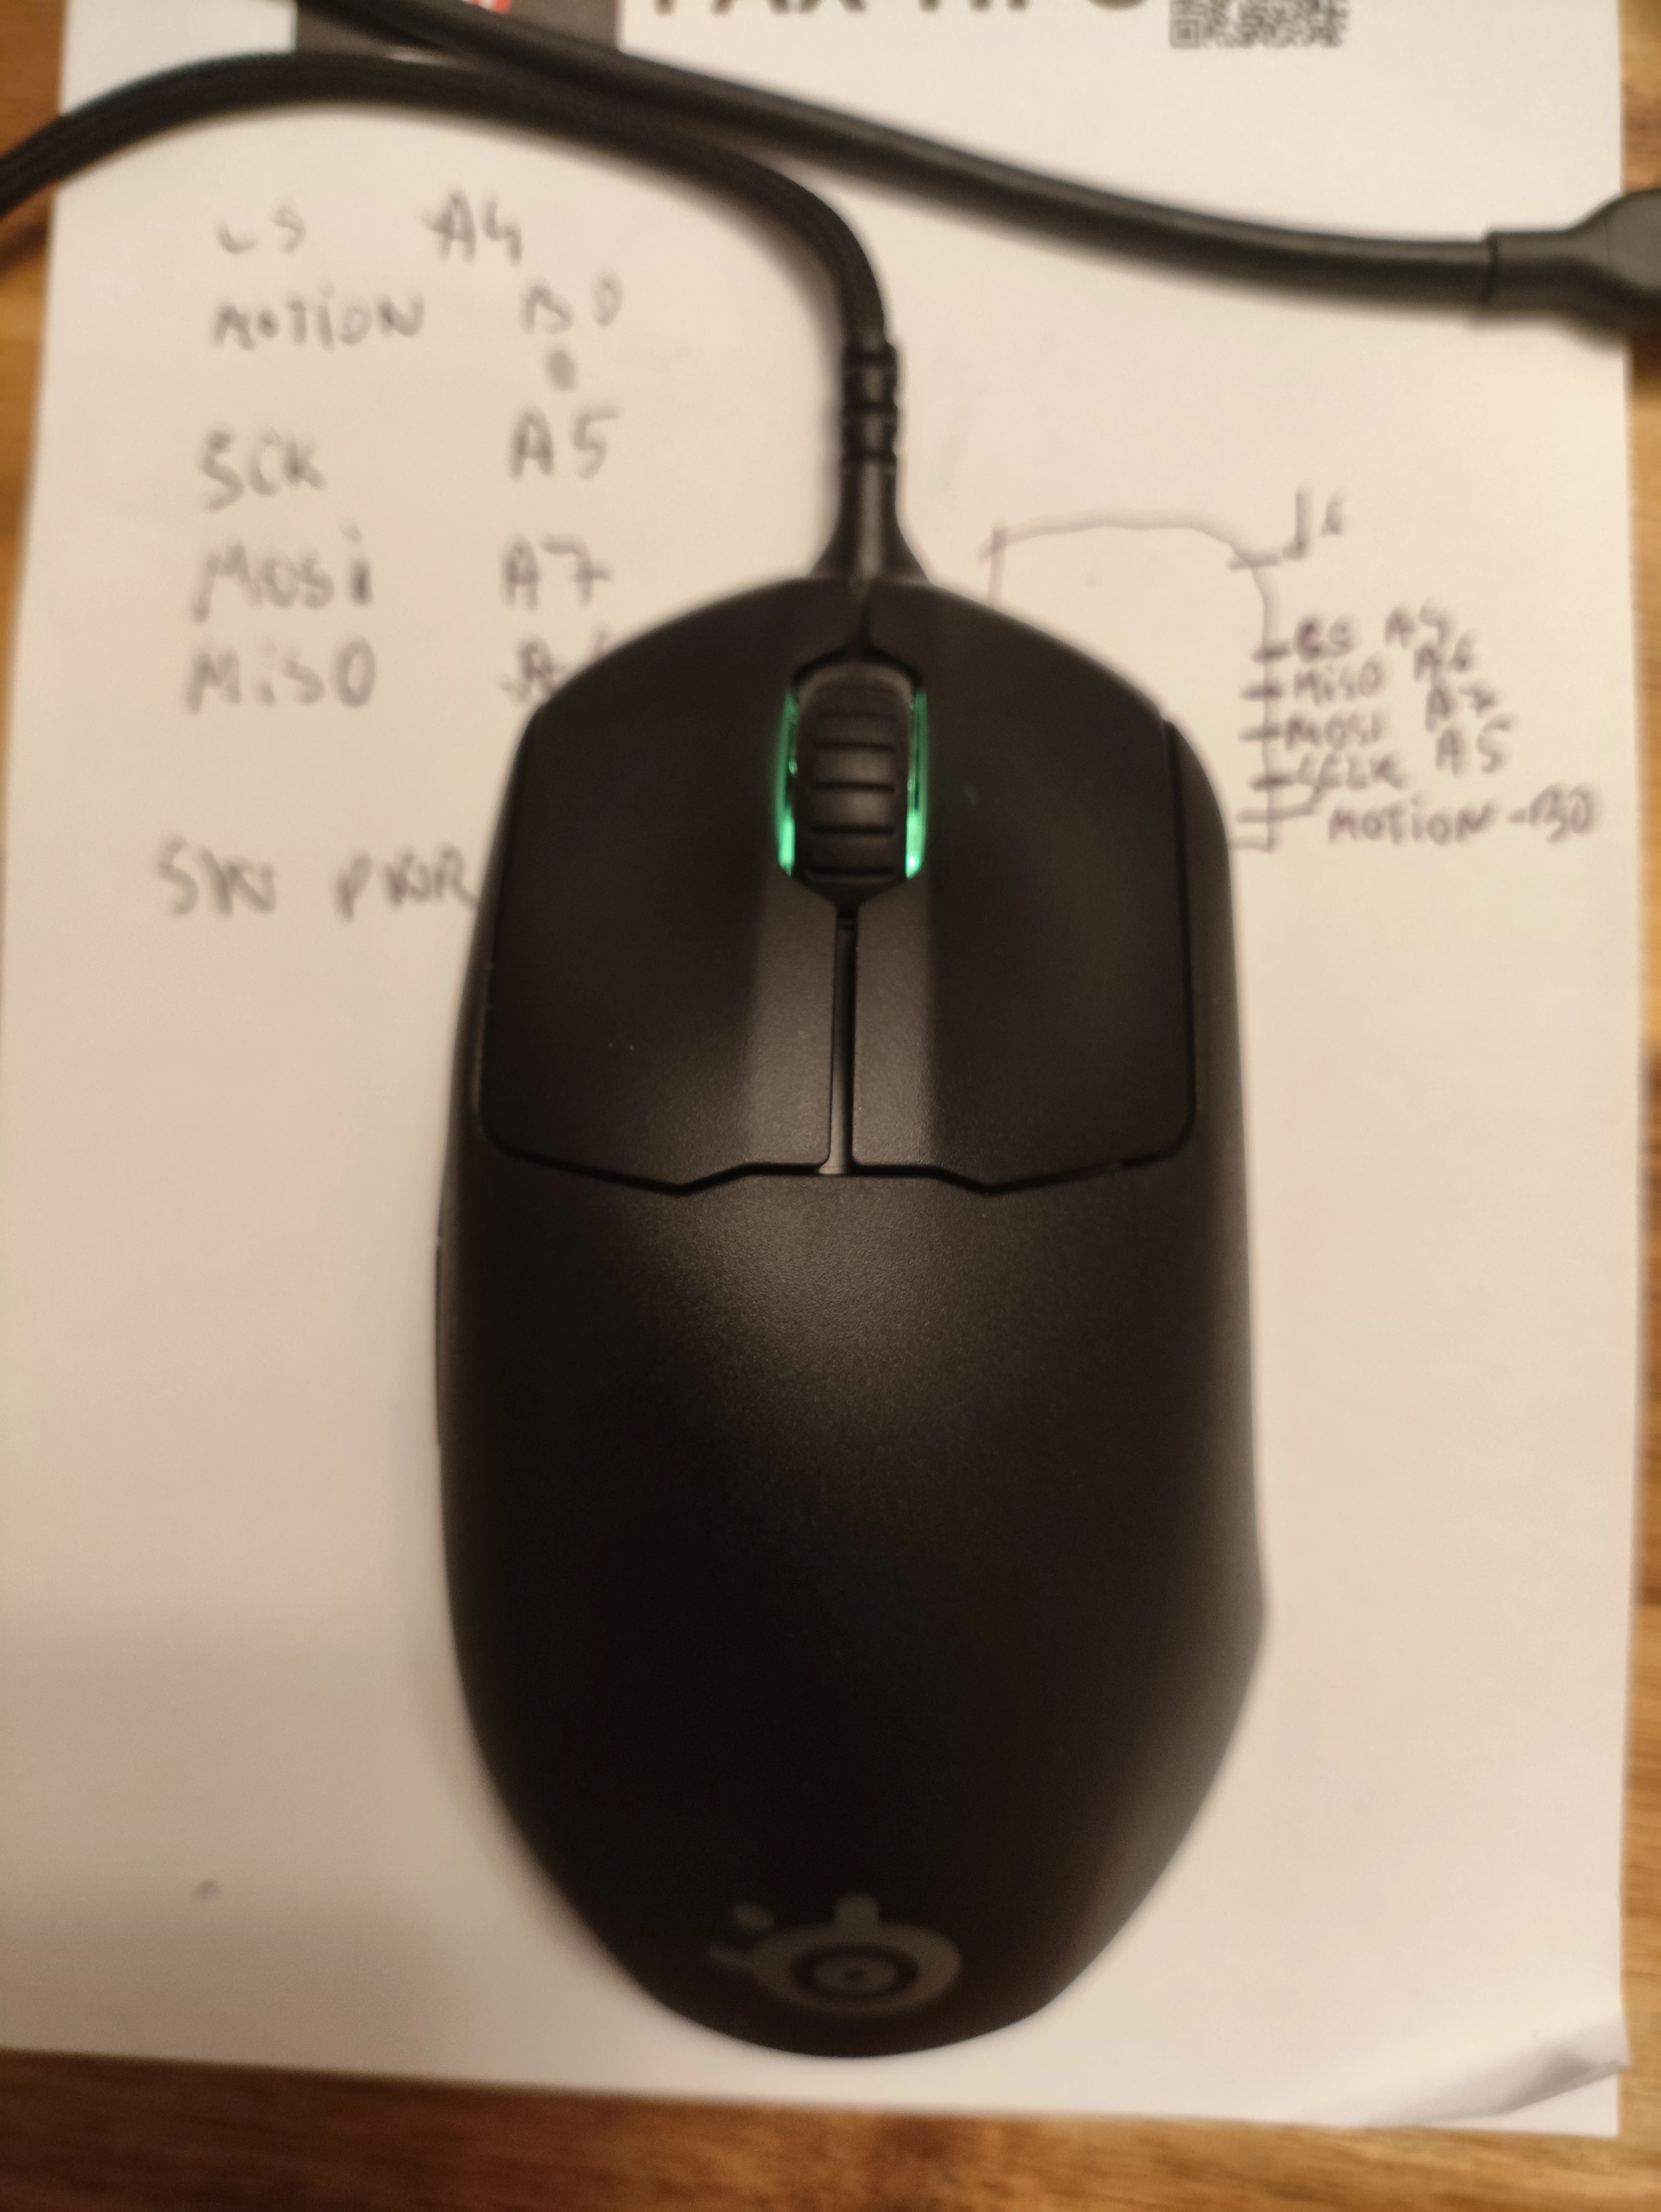
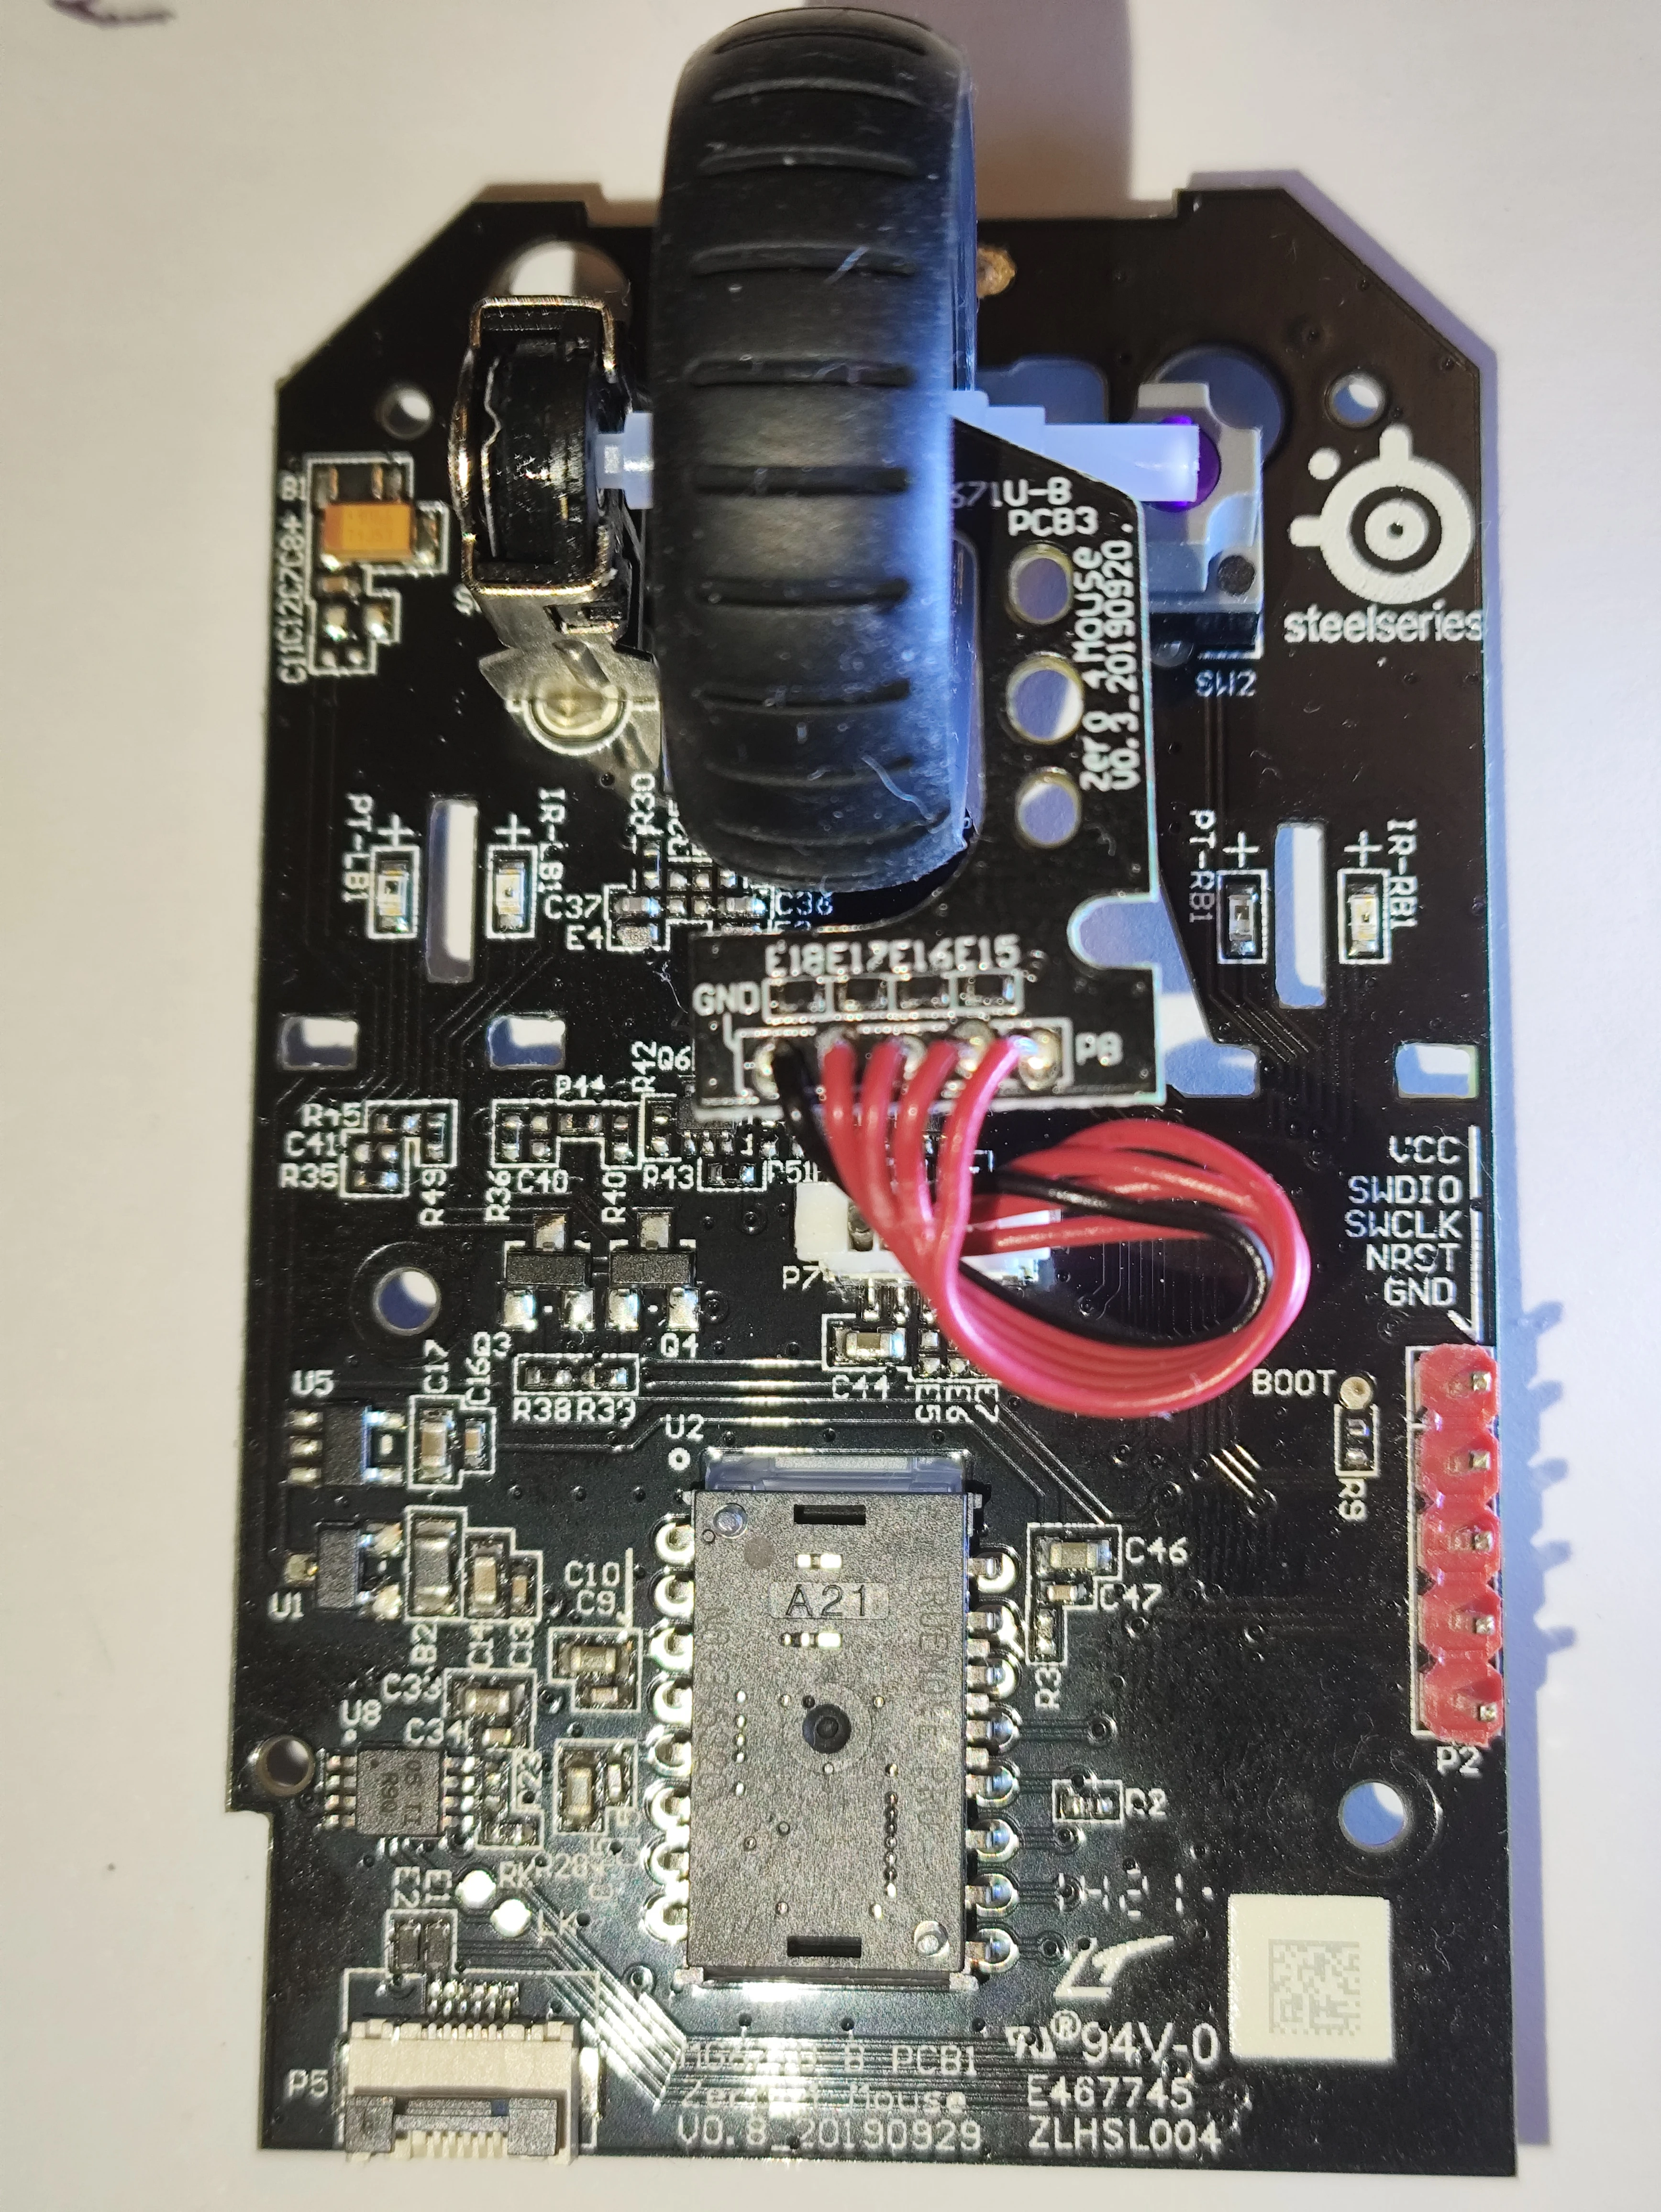
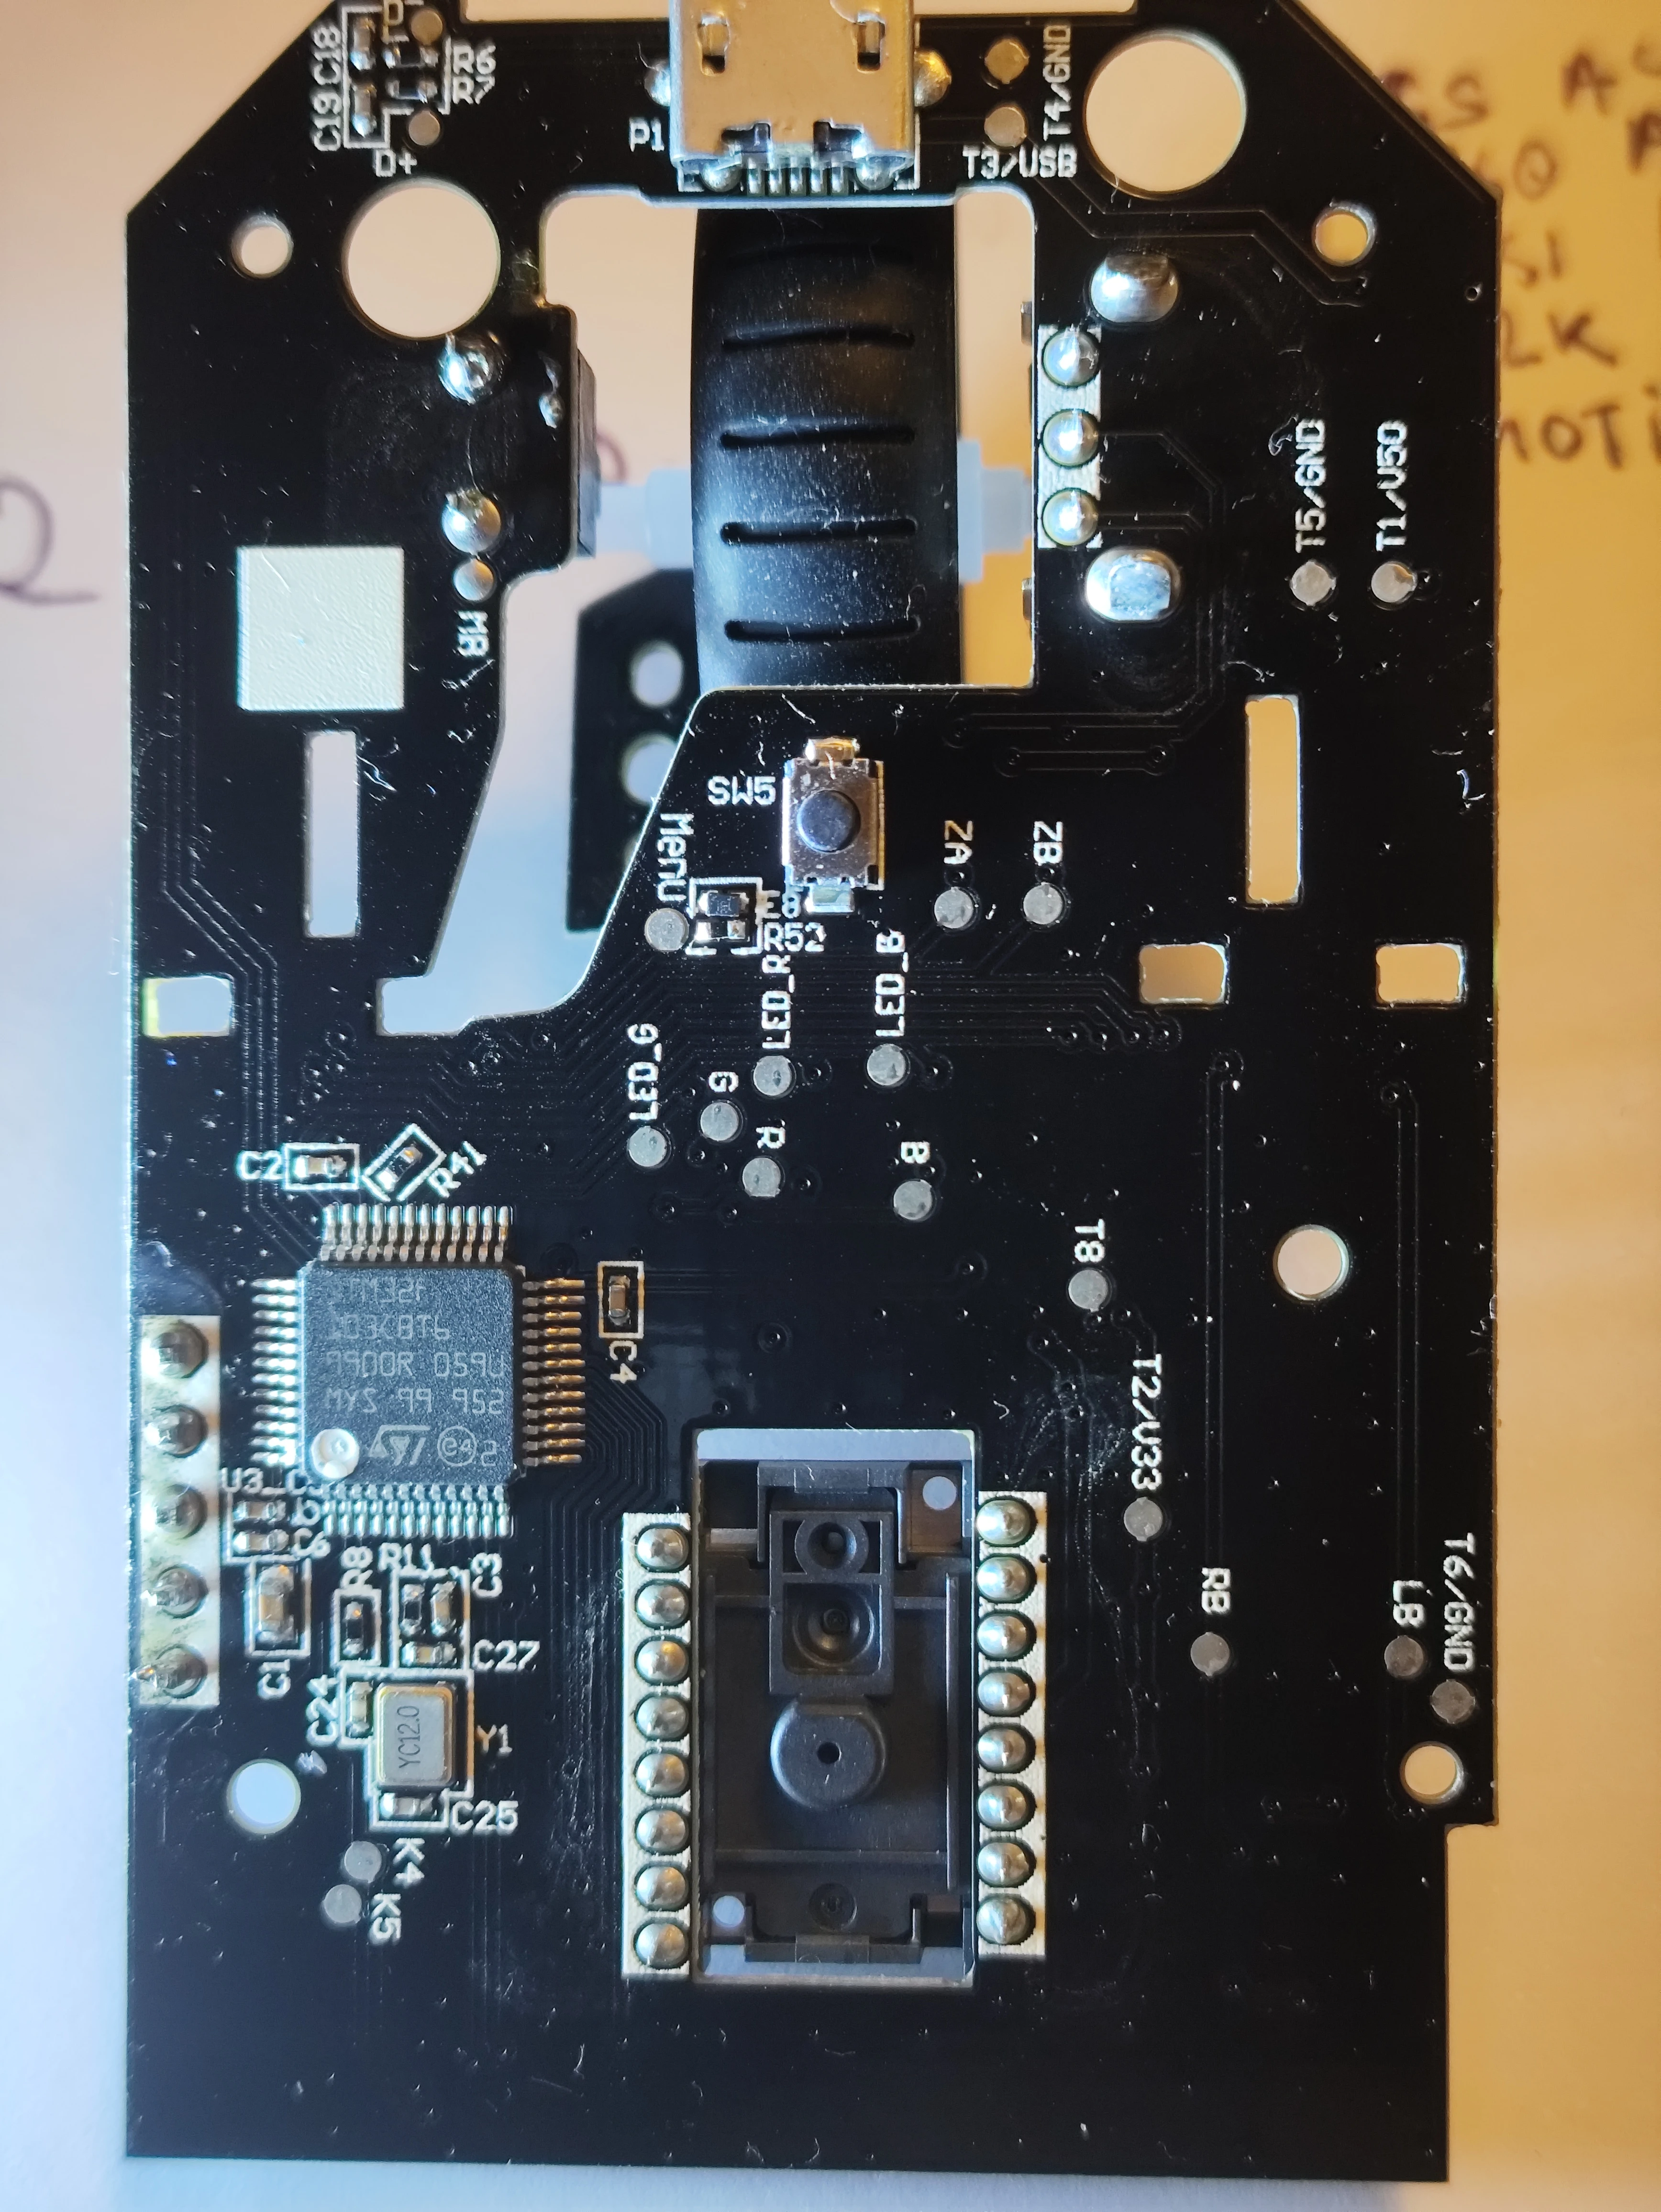
The wired SteelSeries Prime is an affordable, lightweight gaming mouse (picked up from a local discounter, B&M, for £15) built around an STM32F103C8T6 microcontroller, a TrueMove Pro optical sensor (compatible with QMK's PixArt PMW3389 driver), 6 buttons, and an RGB scroll wheel LED.
Because the fancier Prime+ shares the same MCU and optical sensor and was already ported to QMK by Dasky, adapting the standard Prime was straightforward. Converting it requires opening the shell, soldering a 5-pin SWD header, unlocking flash protection via openocd, and flashing a UF2 bootloader.
Internal PCBs
Required Tools
- Screwdrivers:
PH0(for internal PCB screws) andTX6Torx (for external case screws beneath the skates) - SWD Programmer:
ST-Link v2(an inexpensive clone from RobotDyn/AliExpress works fine) - Soldering Gear: Soldering iron, 5-pin 2.54 mm pitch header strip, and 3–4 female-to-female DuPont jumper wires
Teardown & Preparation
- Remove PTFE Skates: Carefully peel back the glued PTFE feet covering the bottom screws so they can be reused after reassembly (or keep replacement skates on hand).
- Open the Shell: Unscrew the 4 external case screws using the
TX6driver. - Disconnect Ribbon Cable: Gently separate the top shell and release the internal ribbon cable using its zero-insertion-force latch lever.
- Remove Internal PCB: Unscrew the 2 main PCB screws plus the 2 additional screws next to the scroll wheel (
PH0). Lift the PCB out of the lower housing (don't worry if the small plastic alignment prong on the side of the PCB snaps). - Solder SWD Header: Clear any factory solder from the 5 through-holes on the SWD header footprint and solder the 2.54 mm pin header in place.
Flashing the UF2 Bootloader
- Wire ST-Link to the Mouse PCB:
- If powering the mouse via its USB cable, connect 3 DuPont wires:
GND,SWCLK, andSWDIO. - If powering directly from the ST-Link, connect a 4th wire for
VCC(3.3 V).
- If powering the mouse via its USB cable, connect 3 DuPont wires:
-
Download or Build the Bootloader:
- Prebuilt Binary:
firmware/uf2boot_prime.bin - Build from Source: Clone
daskygit/uf2-prime-plus, apply the patch below to rename the USB volume/product labels for the standard Prime, and build targetPRIME_PLUS:
```diff diff --git a/libopencm3/Makefile b/libopencm3/Makefile index d93efeac..d5c2e4d6 100644 --- a/libopencm3/Makefile +++ b/libopencm3/Makefile @@ -59,7 +59,7 @@ build: lib LIB_DIRS:=$(wildcard $(addprefix lib/,$(TARGETS))) $(LIB_DIRS): $(IRQ_DEFN_FILES:=.genhdr) @printf " BUILD $@\n"; - $(Q)$(MAKE) --directory=$@ SRCLIBDIR="$(SRCLIBDIR)" + $(Q)$(MAKE) --directory=$@ SRCLIBDIR=$(SRCLIBDIR)
lib: $(LIB_DIRS) $(Q)true diff --git a/src/stm32f103/prime_plus/config.h b/src/stm32f103/prime_plus/config.h index d7c2b50..6fe0eb7 100644 --- a/src/stm32f103/prime_plus/config.h +++ b/src/stm32f103/prime_plus/config.h @@ -49,11 +49,11 @@ #define UF2_FAMILY 0x5ee21072
#undef VOLUME_LABEL -#define VOLUME_LABEL "PRIMEPLUS" +#define VOLUME_LABEL "PRIME" #undef PRODUCT_NAME -#define PRODUCT_NAME "SteelSeries Prime+" +#define PRODUCT_NAME "SteelSeries Prime" #undef BOARD_ID -#define BOARD_ID "steelseries-prime-plus" +#define BOARD_ID "steelseries-prime" ```
- Prebuilt Binary:
-
Remove
STM32F103Write Protection: Usingopenocd(or STM32CubeProgrammer):sh openocd -f interface/stlink.cfg -f target/stm32f1x.cfg \ -c "init; reset halt; stm32f1x unlock 0; flash protect 0 0 last off; reset halt; exit" -
Flash the UF2 Bootloader:
sh openocd -f interface/stlink.cfg -f target/stm32f1x.cfg \ -c "program uf2boot.bin verify reset exit 0x8000000" -
Reassemble: Disconnect power and remove the ST-Link jumper wires, then reassemble the PCB, ribbon cable, shell, and skates.
QMK Firmware
- Enter UF2 Bootloader Mode: Hold down the underside CPI button while plugging in the USB cable. A removable USB mass-storage drive (
PRIME) will mount on your computer. -
Flash QMK:
- Prebuilt UF2: Download
firmware/steelseries_prime_default.uf2and copy it onto the mounted drive. - Compile from Source:
bash git clone --recurse-submodules -b mlego_dev https://github.com/alinelena/qmk_firmware.git qmk-alin cd qmk-alin qmk compile -kb steelseries/prime -km default qmk flash -kb steelseries/prime -km default - Prebuilt UF2: Download